The first tile decides where the last one lands.
Setting out is the whole job. Everything after it is just care and clean grout lines.
How the job runs
- Check the surface first — a floor that moves or a wall that is not sound is a tiling failure waiting to happen, whatever goes on top of it.
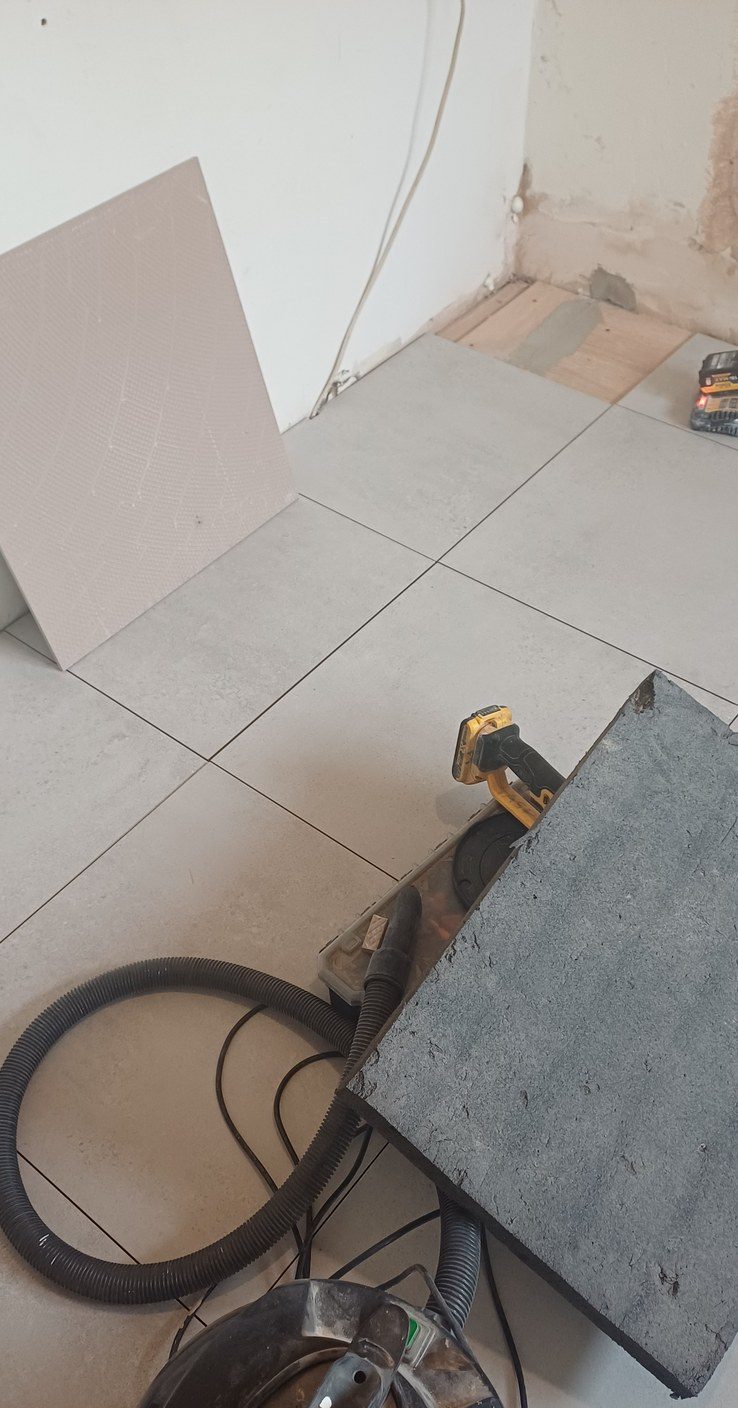
- Make it flat and solid — lifting, levelling, screwing down, boarding out. This is the part that decides whether the job lasts.
- Set out dry — I work out where every cut falls before any adhesive is mixed, and put the cuts where nobody looks.
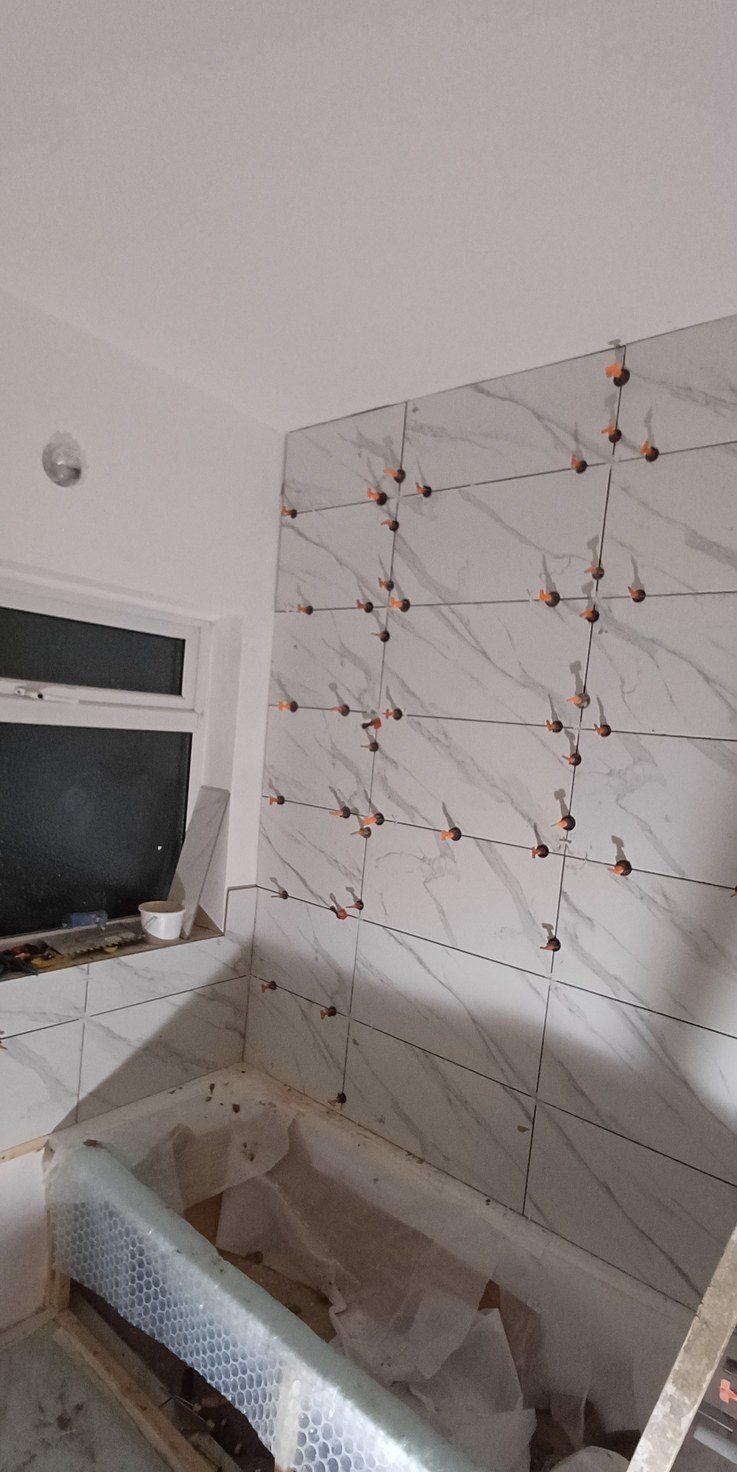
- Lay to the setting out — full tiles on the walls you see, levelling clips throughout so no edge stands proud.
- Cut around the awkward things — pipes, valves, sockets, corners. This is where the hours actually go.
- Grout and seal — including the movement joints and silicone lines that stop a rigid floor cracking a rigid tile.
What goes wrong when it is done badly
A bad tiling job announces itself in three ways and all three are permanent. Poor setting out gives you slivers at the corners and a cut running through the wrong place, which cannot be corrected without taking the wall off. Lippage, where one tile edge stands proud of its neighbour, is invisible head on and glaring in raking light — and it catches a mop and a bare foot for as long as the room exists. And tiles laid on a floor that was never stabilised will crack or lift along a line, usually within the first winter of the heating going on and off. All three cost the same to put right: the whole room again, plus taking out the one you paid for.
Questions I get asked
Why does where you start matter?
Because it decides where you finish. Start in the nearest corner and the wall decides, and you end on a sliver of tile at the most visible corner in the room. I set the cuts out before any adhesive is mixed and put them where nobody looks.
What are the little clips for?
Levelling clips. They stop one tile edge standing proud of the one beside it. You cannot see the difference straight on — you see it when morning light comes across the wall.
Can you tile over my existing floor?
Only if it does not move. Tiles laid on a floor that flexes will crack along a line within a year, and that is not a fault in the tile. If it needs stabilising first I will say so.
Do you do large format tiles?
Yes. They are less forgiving than small ones because any unevenness underneath shows at the joints, so the preparation matters more, not less.
If you are planning a bathroom or a floor and want it set out properly rather than started in the nearest corner, I will come and look at the room. Call Andrew on the number at the top of this page.
Call Andrew on +44 7984 620077